
No-Sew Elf Wreath
This is a fun and easy Christmas wreath project. I called it the No Sew Elf Wreath, because it reminds me of elves. There is a video to make another wreath that uses a different design. You can find that video on our YouTube Channel by clicking below. Inside that video is also a better demonstration on 2 different methods to press your squares into triangles.
Let’s get this project started!
Supplies:
11-12” Styrofoam Wreath
(13) 2 1/2” Strips-I used Holiday Flourish 13 Holiday Metallic Roll Up by Studio RK for Robert Kaufman.
If you were using the exact color ways that I did in this blog, this is how the strips breakdown.
1 strip to wrap the wreath, 6 strips for red triangles, and 6 strips for white triangles.
However, I will mention 2 things here. First, you will be needing 180 2 ½” squares, that actually comes out to 11 strips (if you get 17 squares/strip). I was trying to utilize the strips methodically and it ended up costing me 12 strips (6 of one color and 6 of the other). Second, if you use a smaller wreath, you will need less fabric. If you use a larger wreath, you will need more fabric. The wreath that I used measures 11” and some, but less than 12”.
For this size wreath, you will need about 365 satin/straight pins.
Ribbon
Any embellishments that you would want to add at the end.
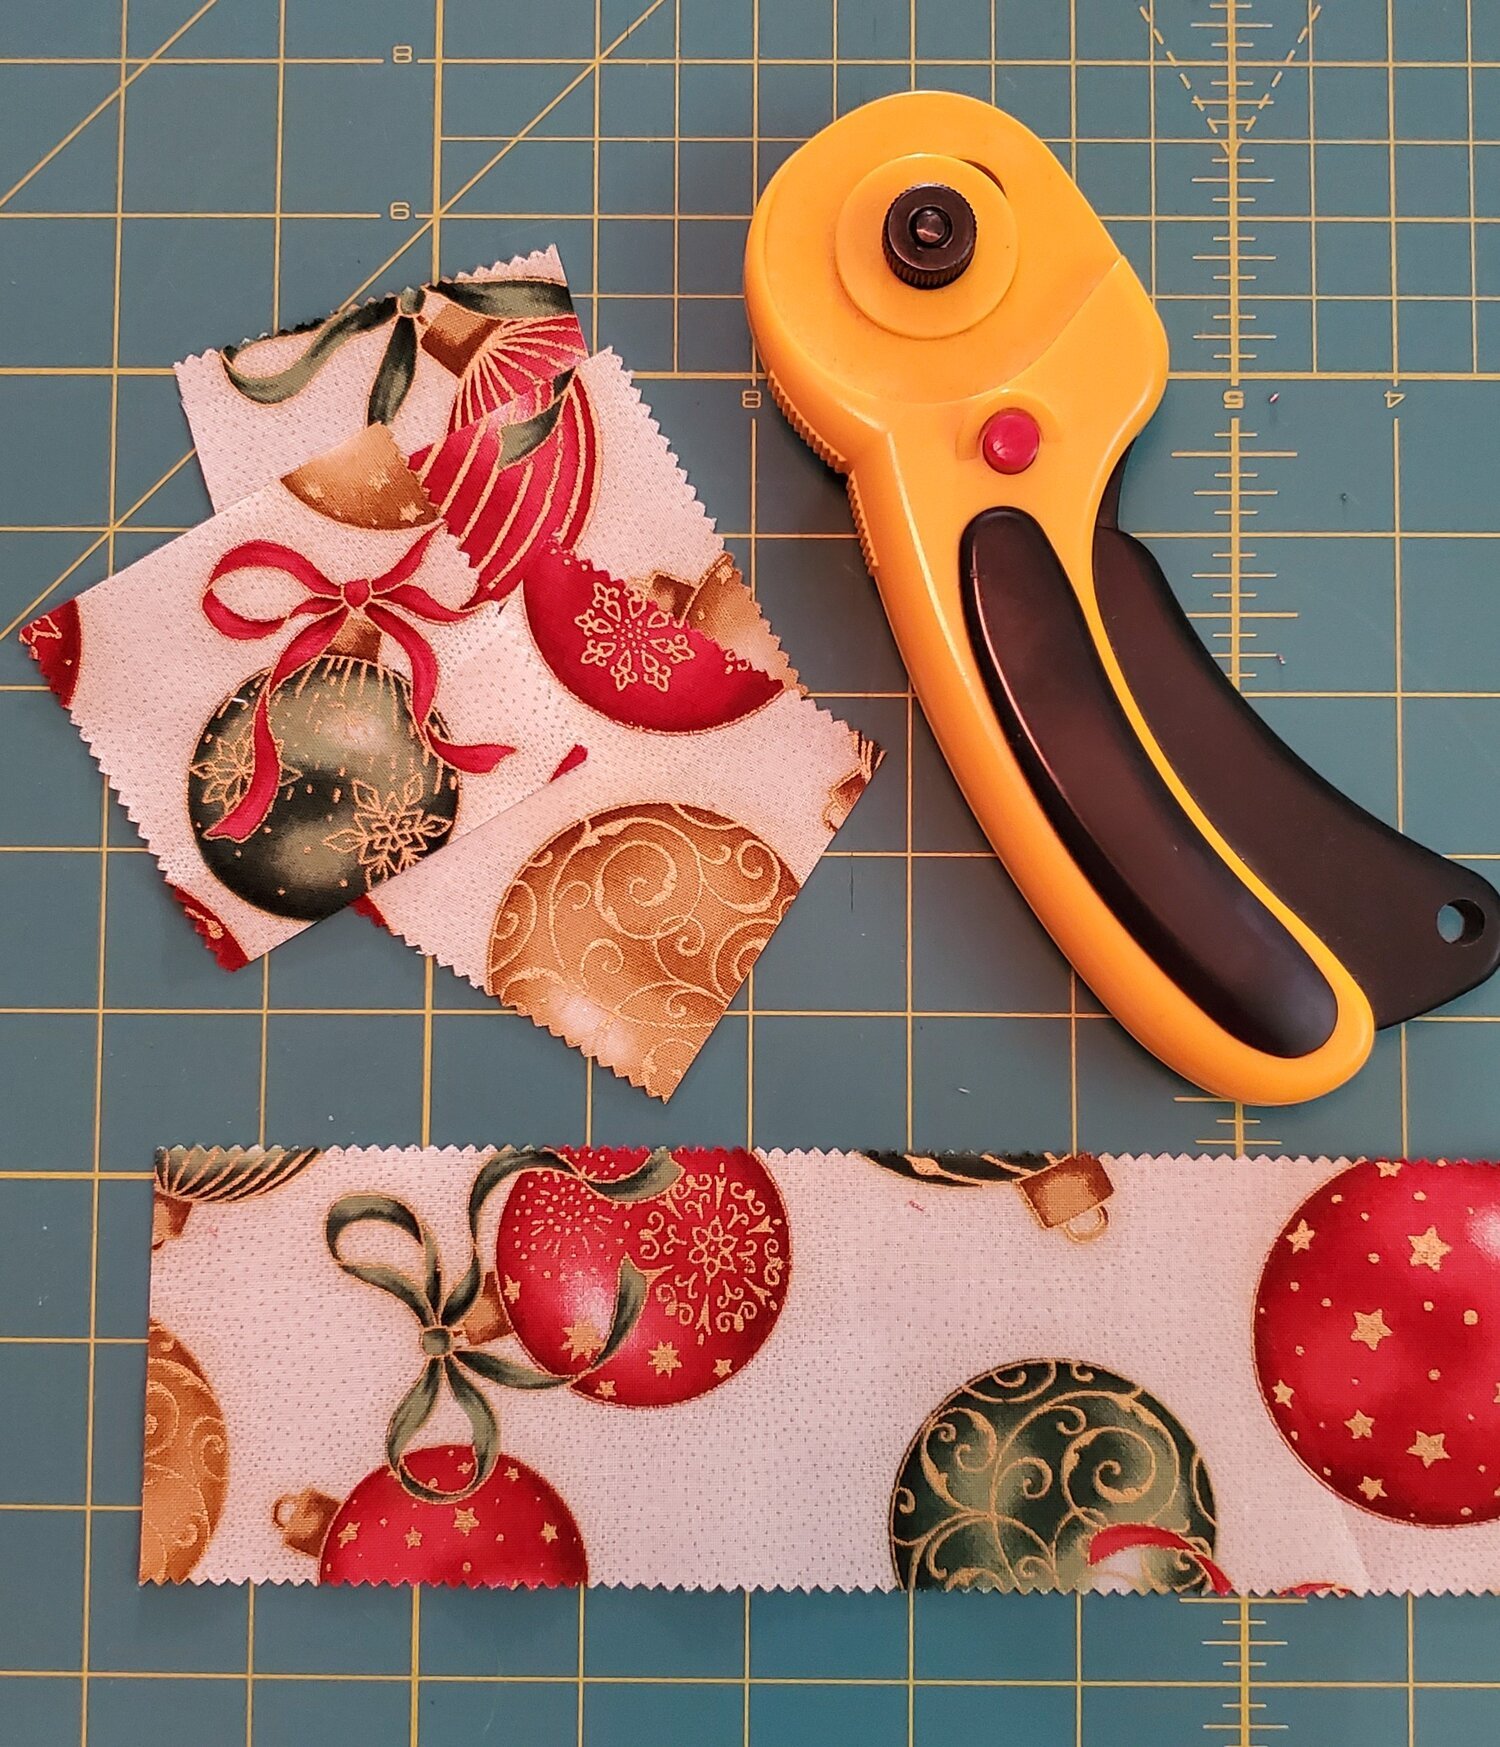
You may want to use your rotary cutter, a self-healing mat, and a ruler to cut your beautiful 2 ½” squares.
Get your iron hot and ready!
Steps:
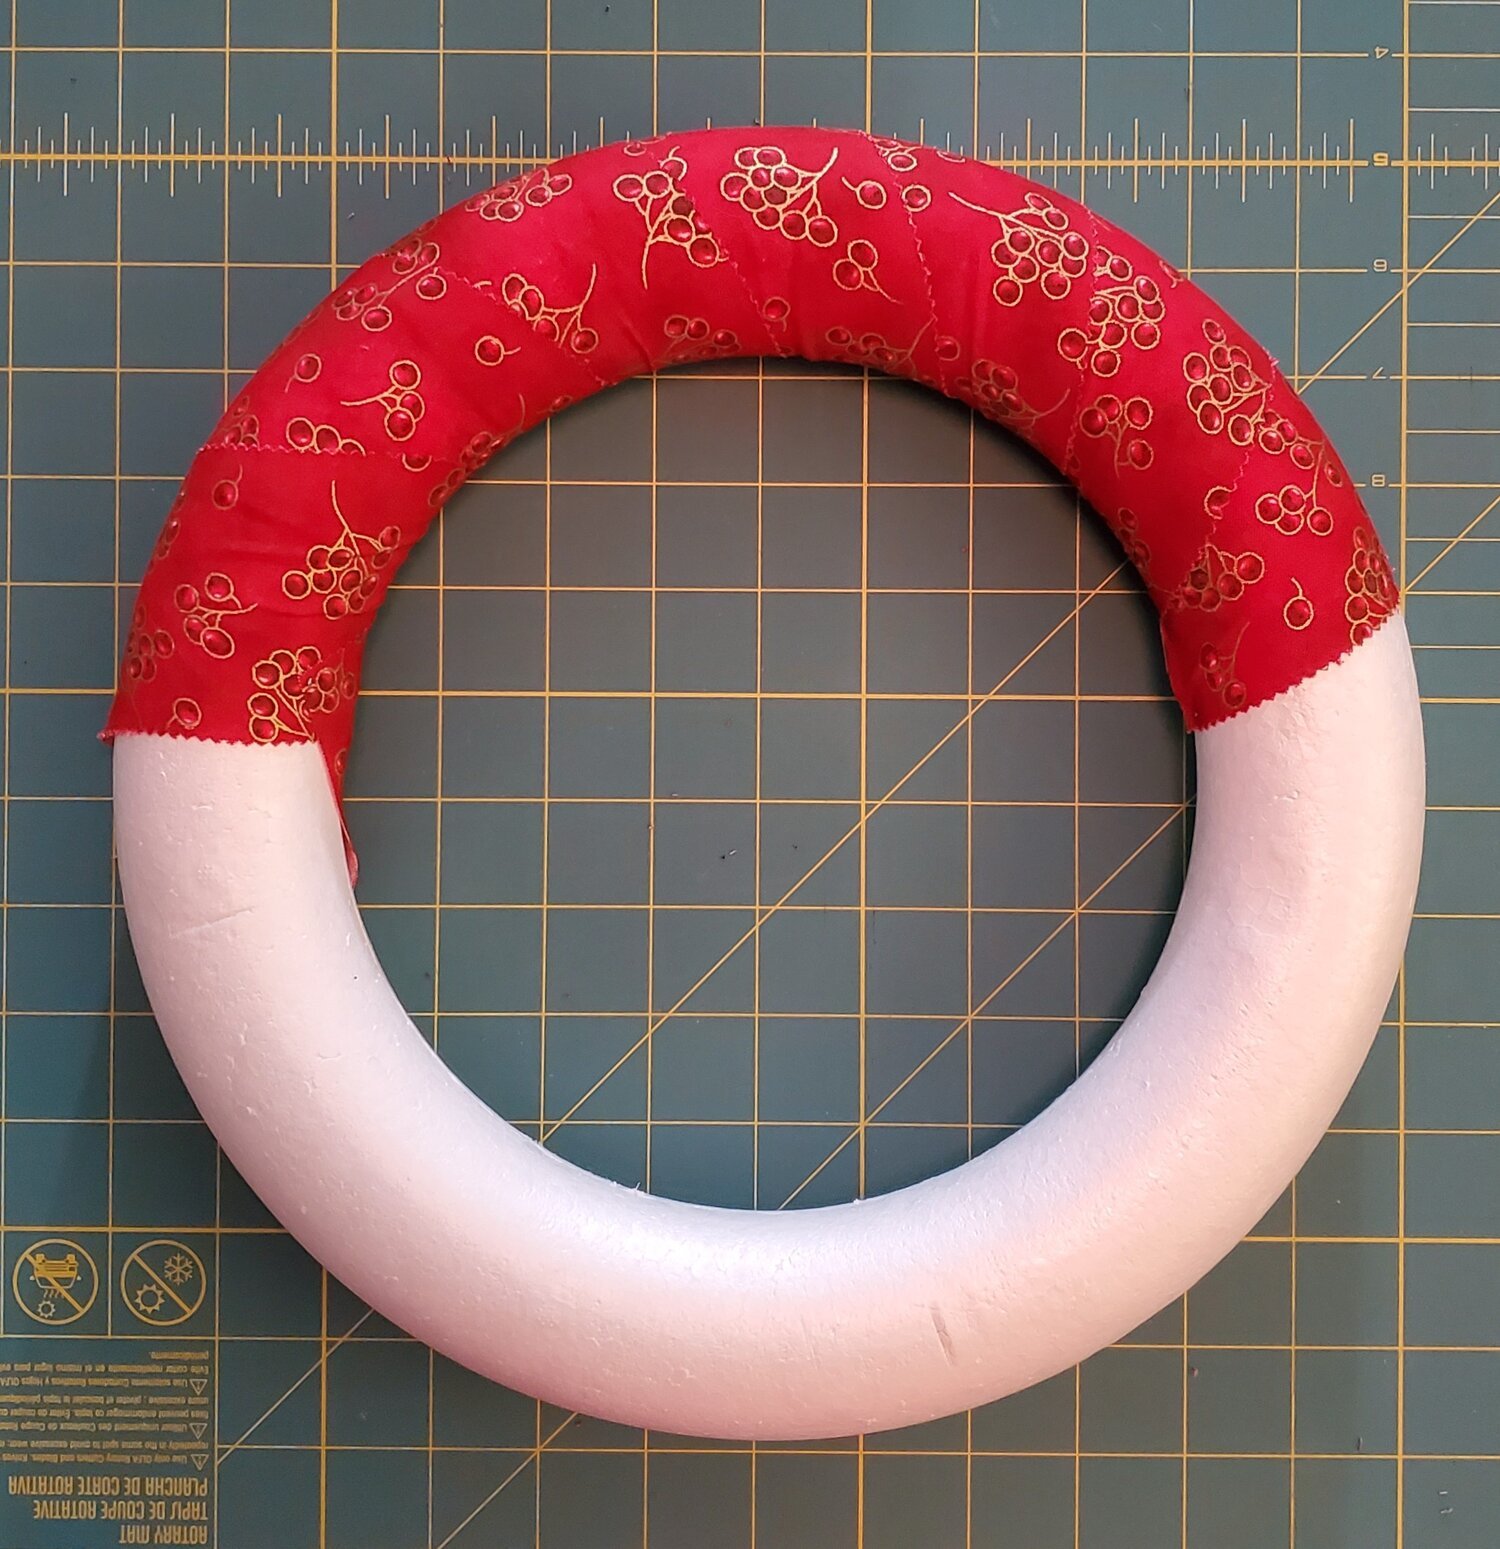
1. Wrap your wreath. Notice that I only used one strip and it doesn’t cover halfway around. You could wrap it with a second strip, and cut your fabric at halfway around the wreath. I wanted to use what I had on hand, and like the little bit of off set. Be sure to pin at beginning and at the end of the strip to hold your strip in place.
2. Cut your strips into 2 ½” squares.
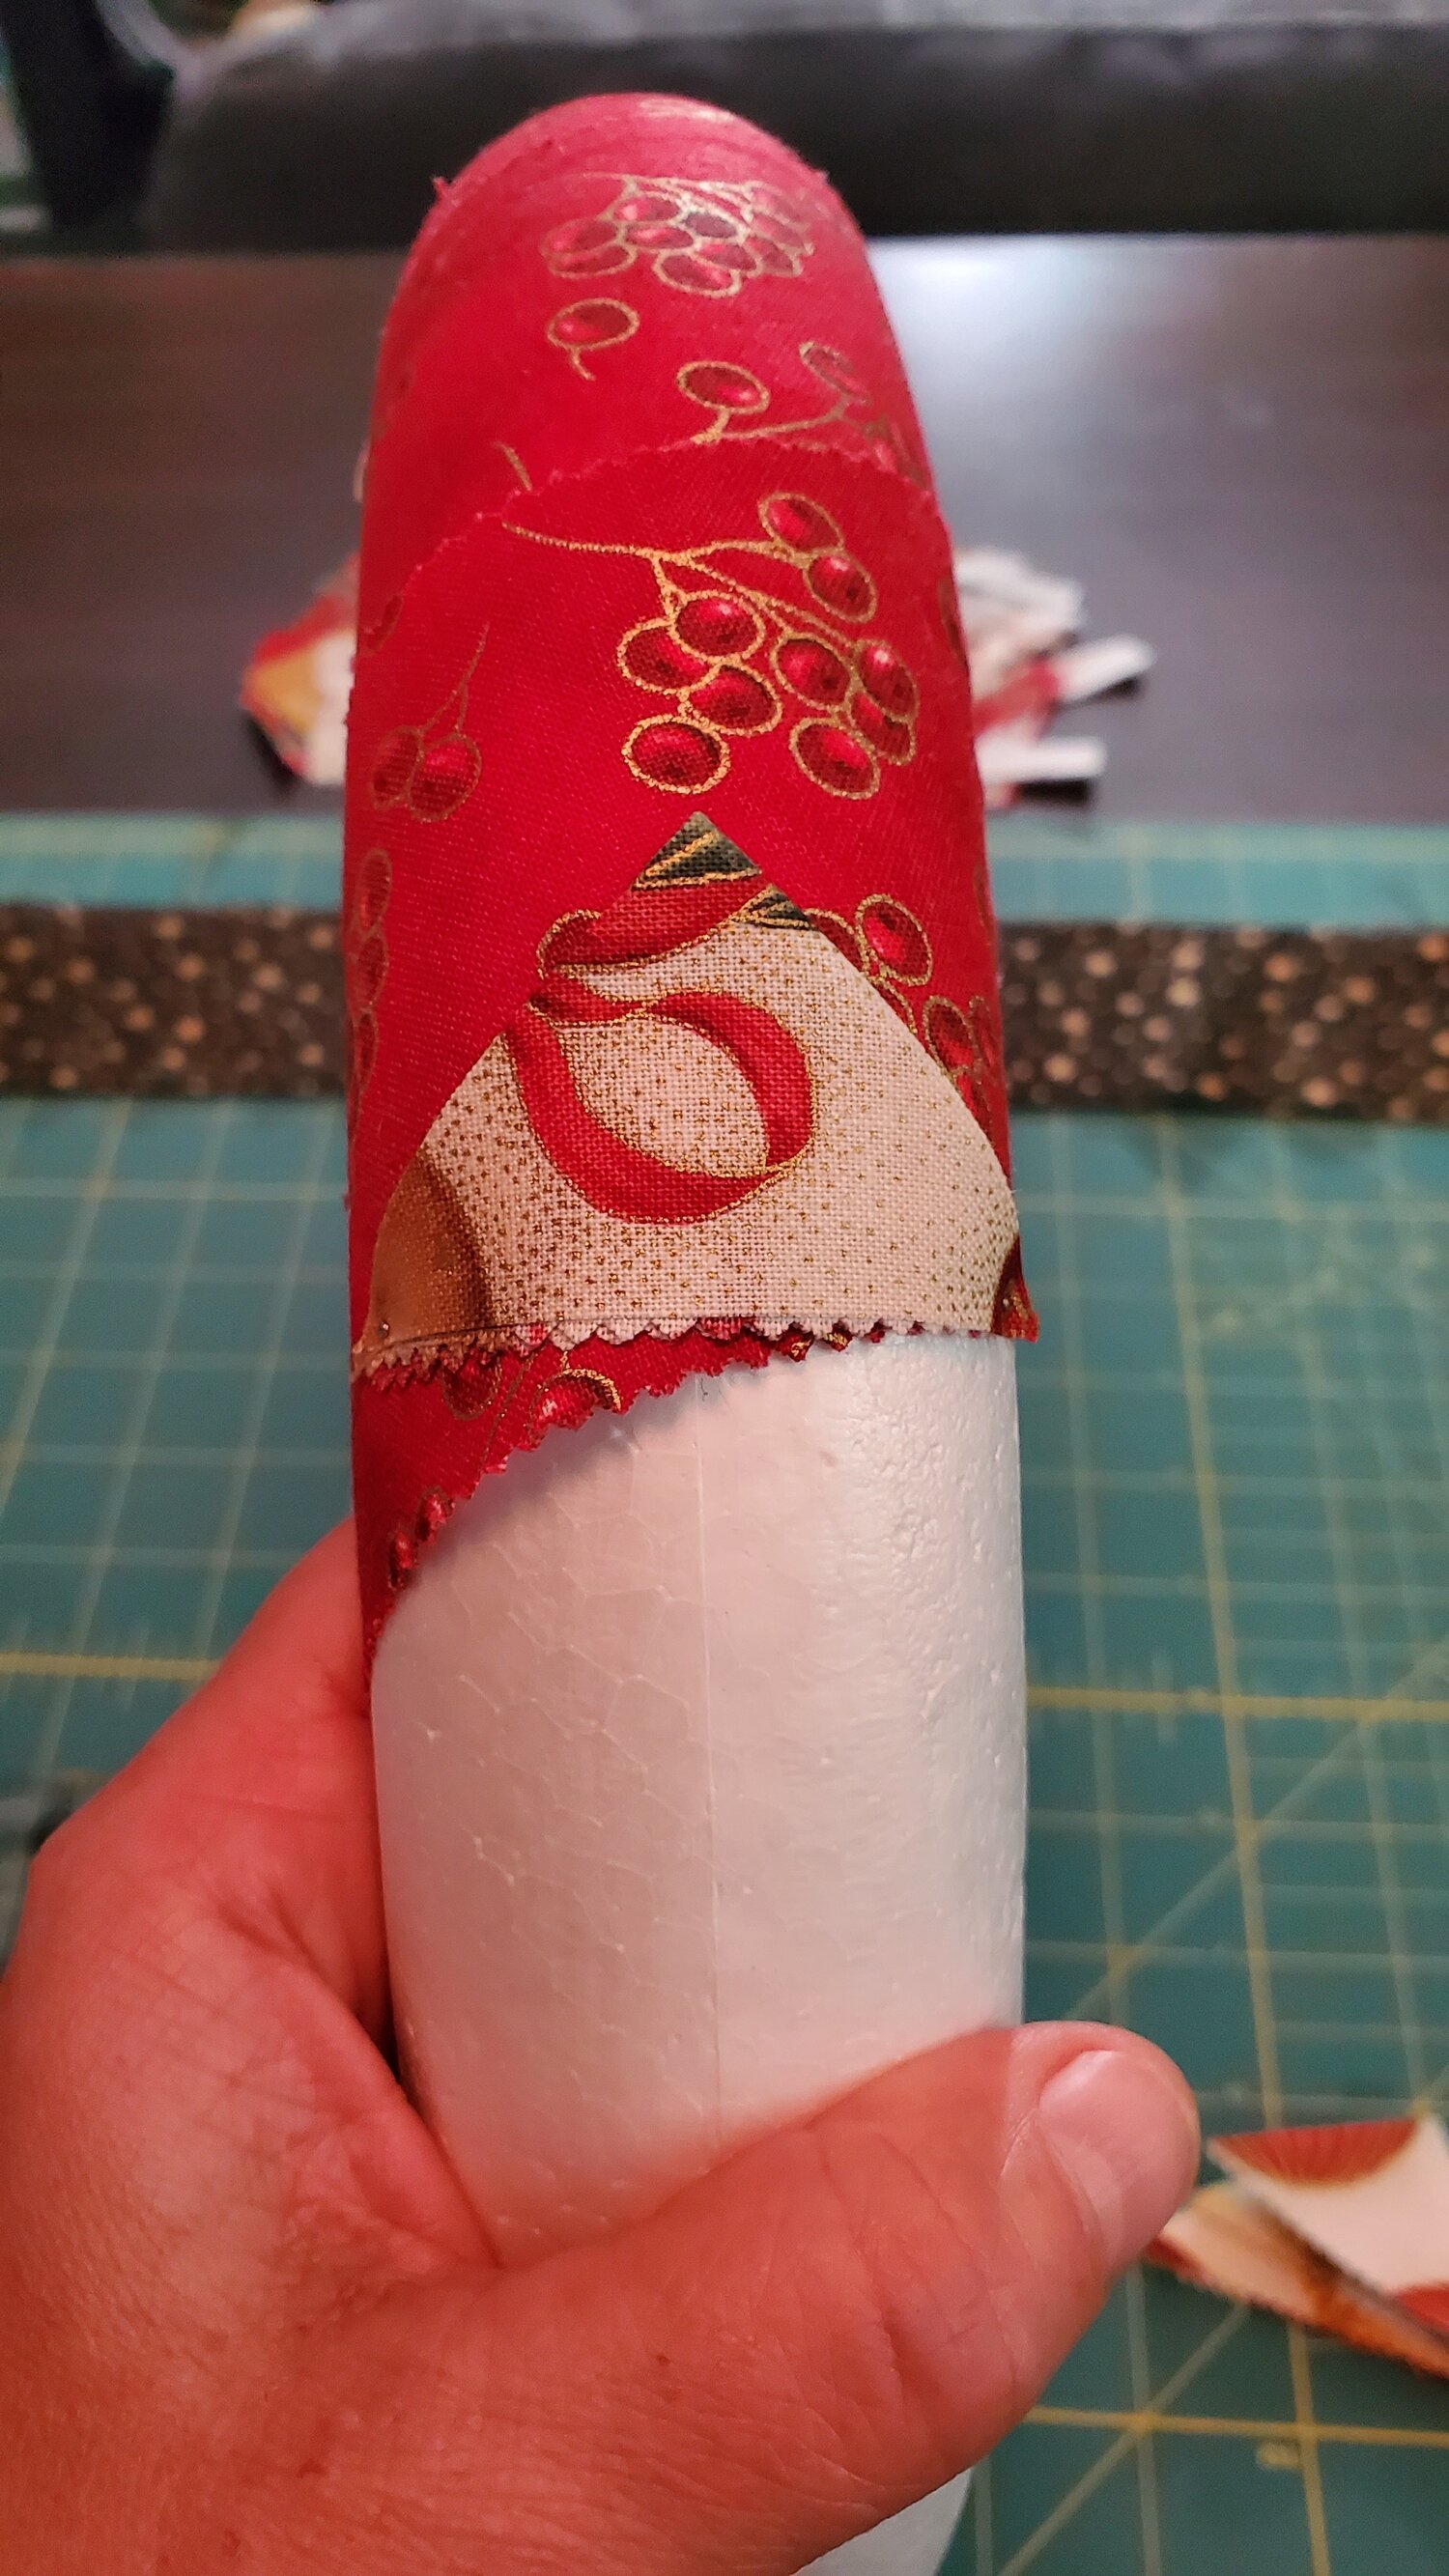
3. Iron your squares into triangles.

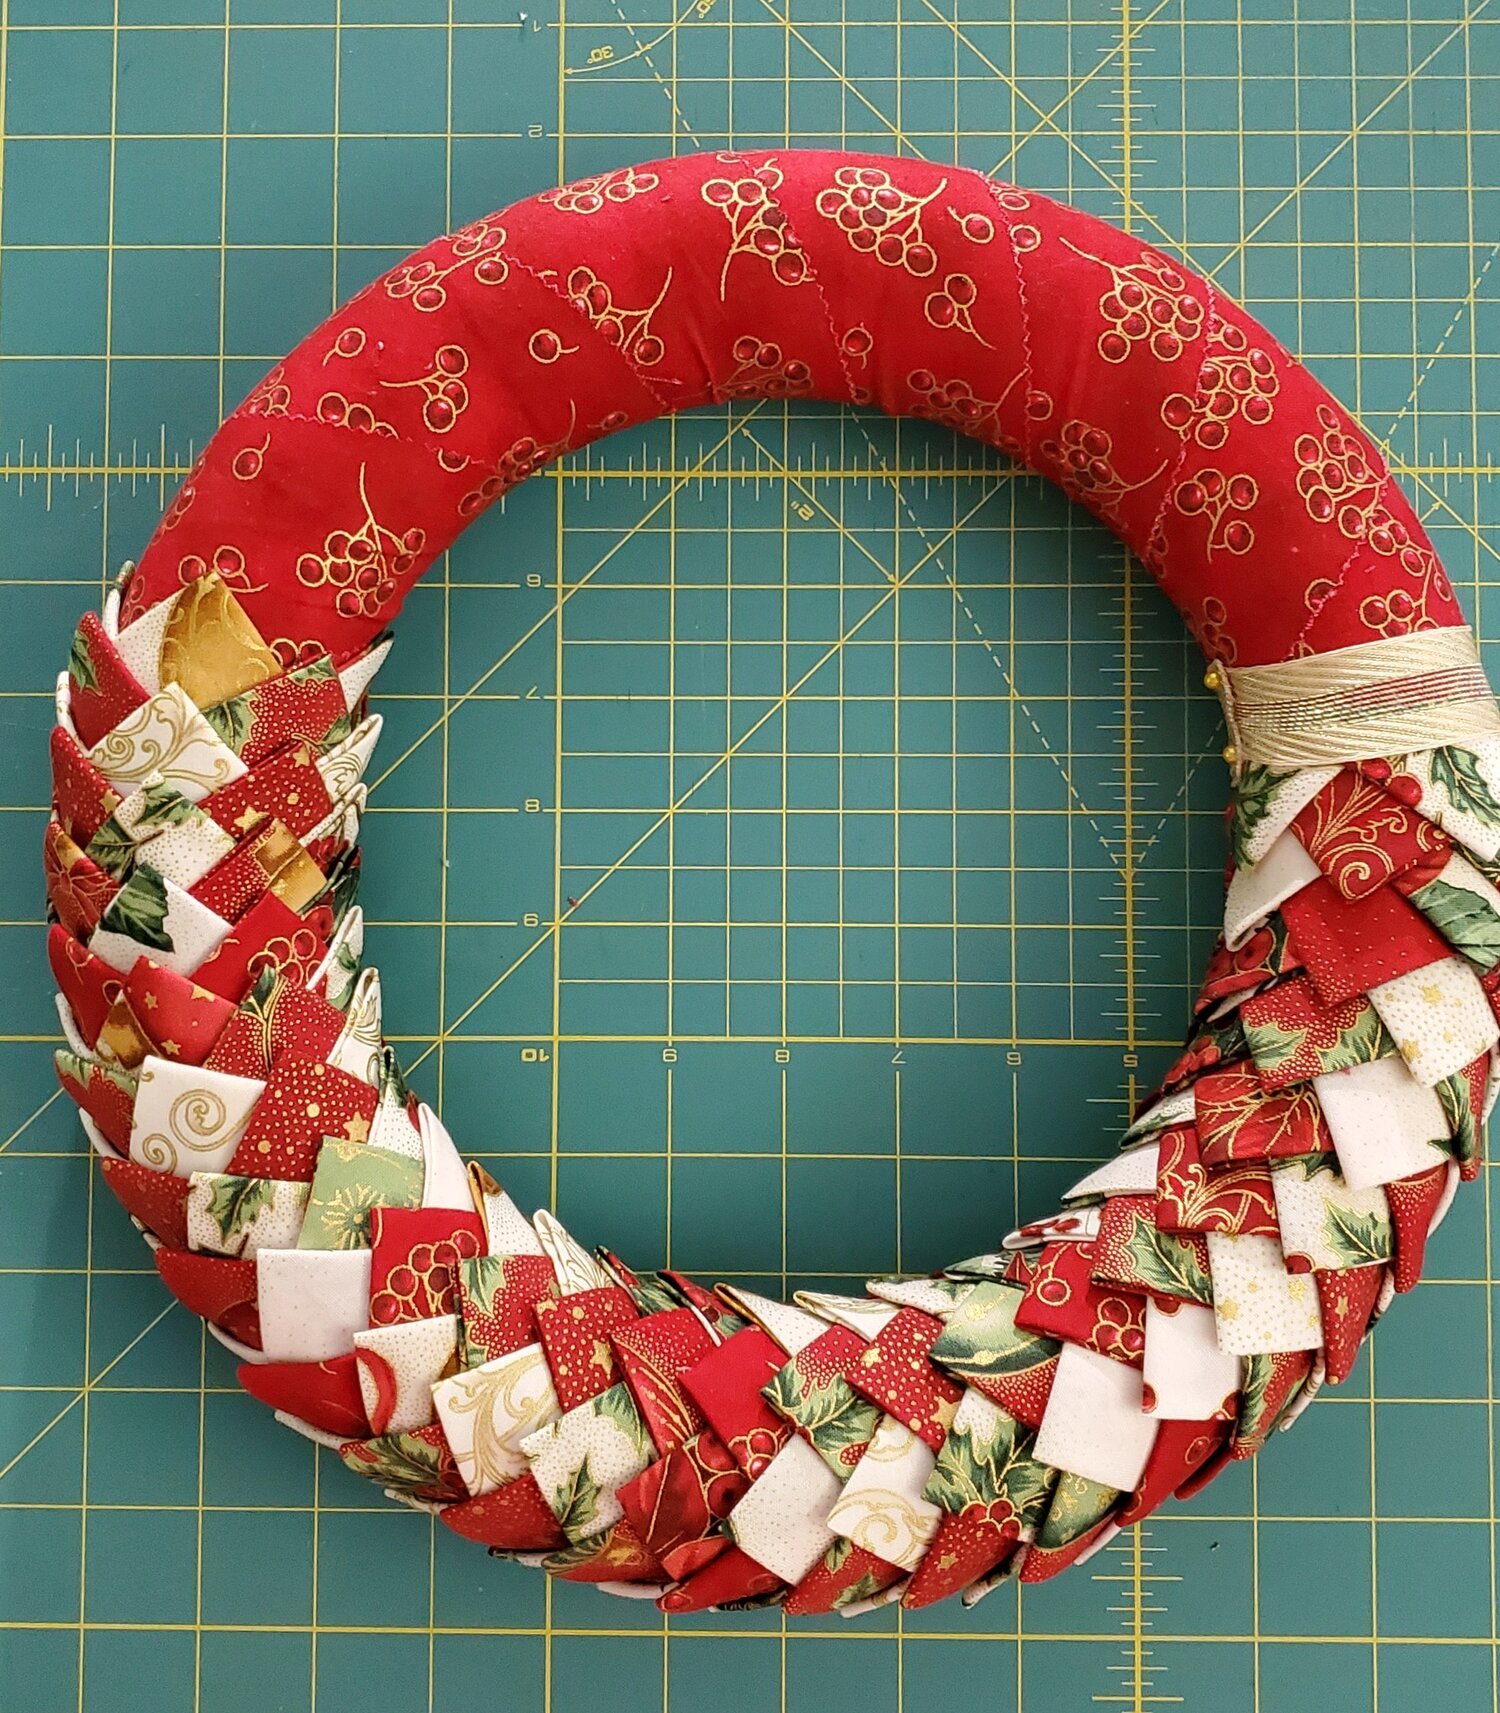
4. Placement of triangles:
NOTE: If you have open folds after ironing, be sure to place all triangles with the open folds in the same direction, and change colors with every layer.
1st triangle: on the outside of the wreath, you want to line the bottom of the triangle along the edge of the wrap strip. Mine is not a straight line, so I wanted to be sure to that it would cover the white of the Styrofoam completely. My wreath also has a white line going down the middle of the wreath, where the two parts were merged together. I used that line to center my triangle to the side. Place pins on both bottom corners of the triangle to hold.
2nd triangle: on the inside of the wreath, place your second triangle and pin on both bottom corners of the triangle to hold. Again, the tip of the triangle should be centered to the center of the wreath. The bottom edge should make a straight line towards the 1st triangle.


3rd and 4th triangles: on either side of the wreath, place a triangle by lining up the bottom edge to the both the 1st and 2nd triangles. Be sure to pin both bottom corners of the triangles to hold in place.

3rd Triangle

4th Triangle

Nice straight line along the bottom of the triangles.
2nd Layer:
In between each triangle on the first layer, place and pin a new triangle a little less than a ¼”. Eyeball the point of the new triangle to be centered in between. Place all 4 triangles, keeping the bottom edges in line.


3rd Layer:
In the same order as the first layer, place and pin triangles a little less than a ¼” down from the 2nd layer and with the points of triangles centered with the first layer. Again, keep the bottom edges in line.


4th Layer:
In the same order as the 2nd layer, place and pin triangles a little less than a ¼” down from the 3rd layer and with the points of triangles centered with the 2nd layer. Keep the bottom edges in line with each other.

Continue to add layers of 4 triangles, repeating this process, until you have reached the other side of the wrap strip. If it is not straight (like mine), be sure to cover all the Styrofoam!

Place your choice of ribbon around the final triangle layer, to hide the pins and open edges. I simply used pins to attach, but you could also use a glue gun.
Embellish your wreath as desired and hang!
