
Adjusting Your 1/4" Seam
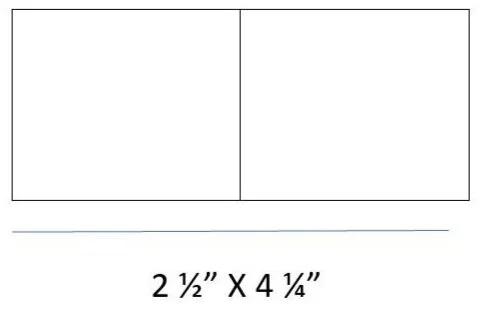
I always suggest that you sew a test unit together to test that ¼” seam. This means to take two 2.5” squares and sew them together. Once they are sewn together with a ¼” seam, they should measure as a 2.5” X 4.5” unit. However, how do you adjust your seam if your units are too long or too short? Personally, I always have to stop and think about this, and realized this truly maybe useful for some of you too! Therefore, I decided to do a short blog on how to adjust your ¼” seam. These examples are correcting the seams by moving the fabric (not the needle).
If your test blocks come up short:
This tells you that your seam is too big. Your fabric needs to move to the left or away from your machine.

If your test blocks come up too long:

This tells you that your seam is too small. Your fabric needs to move to the right or towards your machine.


1/2” Seam

1/4” Seam
The first picture is sewing with a ½” seam. If you sewed your 2 tests blocks together, the test unit would definitely be smaller than 2.5” X 4.5.”
You would then move your fabric away from the machine (or to the left).
The second picture, we moved the fabric to the left and is on a ¼” seam. You can easily see that the fabric was moved to the left.
I realize this example is extreme. But, it was the best way for me to demonstrate which direction to move your seam (or, in other words, your fabric).
One thing I want to mention is the quarter inch presser foot. Just because you are sewing with a quarter inch presser foot, does not mean you will get the desired results in your blocks. So many factors go into your seam, such as: thickness of fabric, thickness of thread, and even how you cut your fabric (just to name a few). When I have assisted other quilters in adjusting their seam to get those test blocks on track, they were always baffled because they figured that when they were sewing with a quarter inch foot, they would always get the right size blocks. To be completely honest with you, not all quarter inch presser feet are exactly a quarter inch either. Therefore, I educate others to use those TEST BLOCKS! They will tell you what you need to do to help you get those blocks to the desired size!
To learn more about that beautiful 1/4” seam, click on the buttons below.
Until next time, may you continued to be inspired, productive, and joyful! And may you never stop making your dreams in quilting come true!
XO-
Angel
Sign up with your email address to receive News, Updates, and Inspirations.