
Machine Maintenance Isn't as Hard as You May Think!
It seems like everything we own needs a bit of maintenance every now and again. For example, your car needs an oil change every so many miles, or your washing machine may have a filter that needs cleaned out every couple of months (ask me how I learned that one!). Well, your domestic sewing machine also needs a bit of cleaning or maintenance. However, instead of every few miles or couple of months, it really depends on how much you sew or what kind of materials you are sewing with.
If you are a quilter that sews each and every day for several hours, it may be good advice to do this simple maintenance once every week. Or, if you sew a project that uses a high-lint fabric (minky or flannel) or a high-lint thread, you may want to do this after completing that project. But, if you are a quilter that only sews maybe once a week for just a couple of hours, you could definitely spread that time for a maintenance out further.
I do want to stress that this simple maintenance that we do does NOT replace taking your lovely machine in for an annual cleaning/maintenance visit to the professional. However, doing your own timely maintenance may make the visit to the professional a less costly one.
So what kind of supplies will you need?
Small screwdriver-you should have received 2 of them when you purchased your machine. These are exactly what you need!
A cleaning brush and maybe a pipe cleaner-again, your machine probably came with a brush, and this works just fine.
Tweezers-although this isn’t a necessary, I find it extremely helpful to have one on hand. Sometimes the tweezers help get a hard to reach dust “bunny” out!
A new needle-this is a good time to replace your sewing machine needle.
Towel- I encourage a clean, small towel to clean the outside of your machine (to include the spool area).
Oil-not every machine needs to be oiled by you. It is important to check your manual to verify if you need to oil your machine or not. If you do need to oil your machine, the manual will also instruct you where to put the oil and how. My machine does not need oiled by me. Therefore, I will not be listing it in this blog of instructions.
Sewing Machine Manual- Although it is pretty much the same method to clean your machine, every machine is just a little bit different. Reading the section of your manual about maintenance will be sure that you are doing every thing that your personal machine may need and that you are doing it correctly.
Let’s get this cleaning party started!
Step 1: Unthread your machine, lift your presser foot, and put your needle in the highest position.
Step 2: Make sure your machine is turned off and unplugged.
Step 3: Remove the presser foot.
Step 4: Remove the needle.
Step 5: Remove the bobbin..
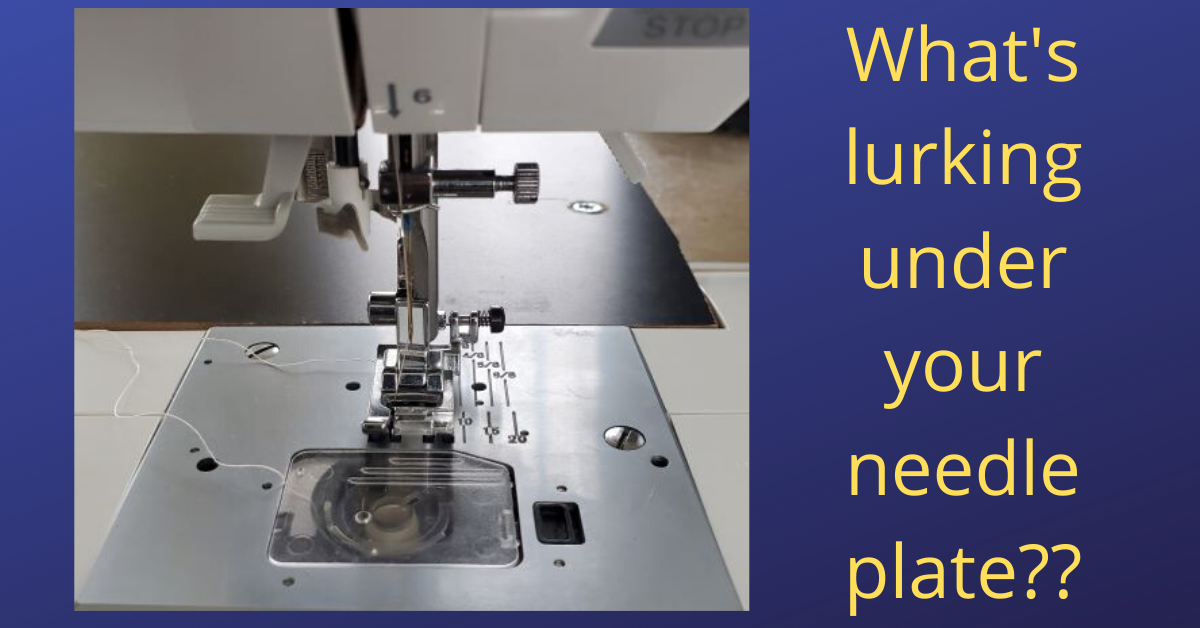
Step 6: Using the special screwdriver that came with your machine (or another one that will fit in the space), unscrew the screws to remove the needle plate. Clean the needle plate with your brush and towel, and set aside. Also, be careful not to lose your screws down into your machine. Place them somewhere safe.
Step 7: Remove the bobbin casing. Be careful to pay attention to how it is seated, as you will need to be able to put the casing back in the correct way when the cleaning is finished.
Step 8: Using your brush, pipe cleaner, and tweezers (if necessary), clean all of the the lint and dust “bunnies'“ out of your machine. Do not forget to clean the presser foot holder and needle area. It is not recommended to use a can of air to spray to clean your machine. We want to remove the dust and lint, not send it further down into the machine.
Step 9: Once every thing looks clean and all the lint and dust has been removed, you can reassemble your machine. Begin with the bobbin casing and continue to reassemble in the reverse order from which you removed it.
Step 10: Replace your bobbin and a new needle.
Step 11: Wipe down the outside of your machine, to include, the spool area.
Step 12: Celebrate that your machine is ready for your next project!
If watching a video is your thing, click the button below.